How to Install Radiant Barrier.
Heat radiant barriers are very useful in the building industry. Its’ help saves on heating and cooling bills since they are capable of reflecting heat energy or cooling air back inside. It’s depending on where you’re using it and at what period of the year. To Install a radiant barrier for newbies see step by step guide.
For example, if you were to use a heat radiant barrier on your air conditioning ducts you would be saving on your cooling bill because cool air would not evaporate as fast. This is especially true for air conditioning ducts that pass through spots in the house that get natural sunlight which in turn could lead to air conditioning ducts getting heated with the air conditioning motor working harder to cool them as well.
As a consequence, you would end up paying more on your electrical or cooling bill depending on whether your air conditioning system is included in your annual apartment maintenance fee. On the other hand, heat radiant barriers can also be used in the winter in order to prevent heat energy from escaping especially in places such as the attic or the basement.
Lastly, depending on what type of heat radiant barrier you select to purchase, you will notice that it is either one-sided or two-sided.
Obviously, a two-sided heat radiant barrier is more preferable however keep in mind that it will also cost you more.
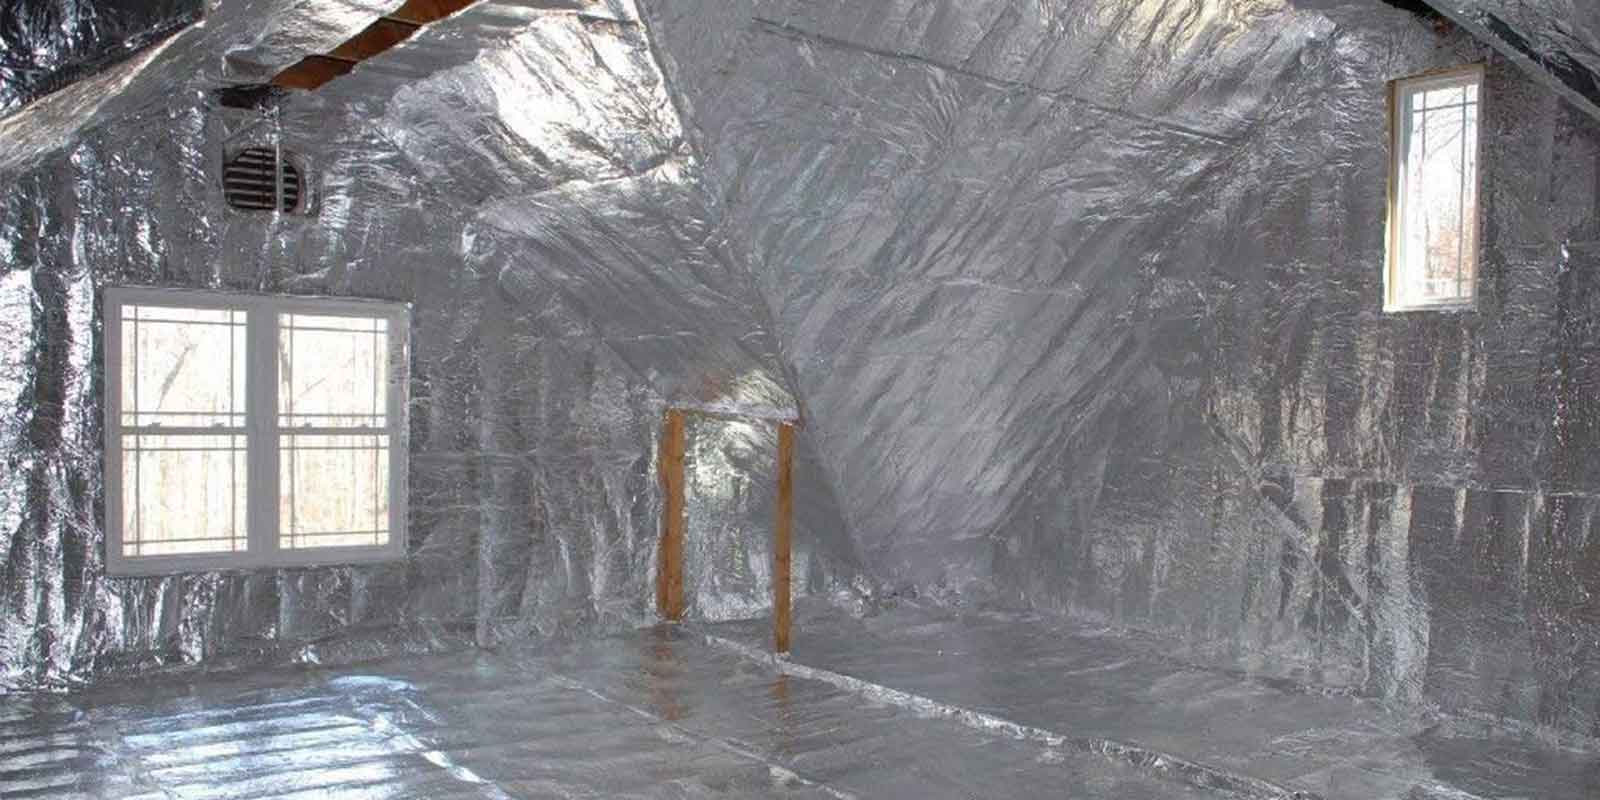
How Are Roofs and Attics Insulated with Radiant Heater Barriers
Nowadays, most roofs are made from three types of materials- tiles, shingles, and more modern roofing sheets.
The radiant barrier for the roof you can find a wide variety of these materials that range in size, color, density, and price however they have one thing in common and that is their high level of thermal loss. Thermal loss is a term used to describe how much heat exactly escapes your house.
Moreover, heat radiant barriers can also be used during the summer with air conditioning so as to prevent cool air from escaping from inside.
However, remember that for this purpose you will need to purchase a double-sided heat radiant barrier that will cost more than single-sided.
Lastly, keep in mind that some individuals prefer to use heat radiant barriers throughout their external housing walls.
Why Are Heat Radiant Barriers So Popular
Heat radiant barriers have gained wide popularity in the last few decades because they significantly help reduce heating and cooling bills, especially for large houses.
Depending on where exactly you live you might want to use a heat radiant barrier in the attic especially in the summer or around your external house walls to prevent heat from being lost during the winter.
The latest tests and studies have shown that on average heat radiant barriers help reduce about 20 to 30% of energy lost provided that they’re installed properly.
How Effective Are the Radiant Heat Barriers
As mentioned above by using heat radiant barriers you can save on your electrical and cooling bills because they help prevent about 30% heat loss however this will only occur if you install the heat barrier properly and if you cover all the spots that will lead to energy loss.
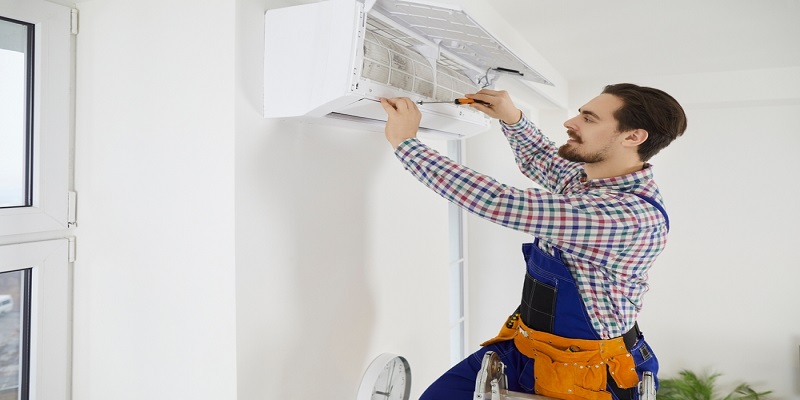
Installing heat radiant barriers is not difficult but you will need to follow the instructions that are usually given by the manufacturer in the form of a booklet in the packaging box.
If you will not find any instructions you can contact the manufacturer through customer support or look up the information on the internet as there are many different guides on how to properly install heat radiant barriers.
Choosing a heat radiant barrier from a manufacturer that offers good customer support is important for another reason since it will give you someone you can contact in case you get any problems or questions plus always give preference to heat radiant barriers that come with a warranty.
Tips for Best Heat Radiant Barrier Installation
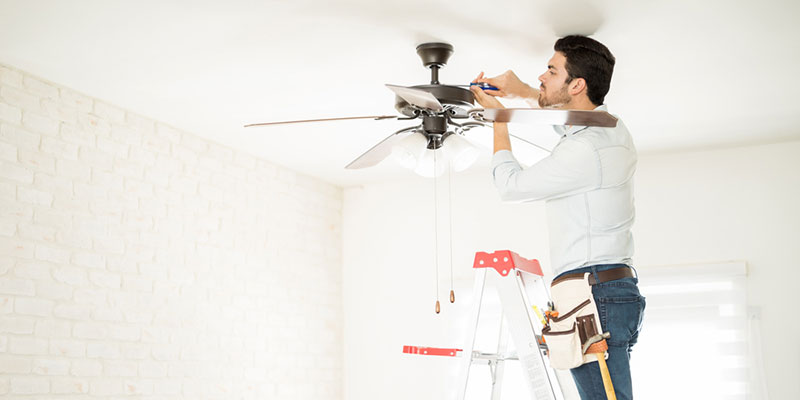
Most professional contractors recommend installing heat radiant barriers in the either early morning. Or late at night because that is the time when the walls, basement, and attic are the coolest.Just like with any other installation make sure you gather all the necessary supplies before beginning. So, you would not have to go back and forth collecting different things around the house.
Moreover, think about whether your attic or basement has sufficient lighting. Because if they don’t you would need to think about how you’re going to light up your working space. So, you can see everything clearly.
How to Install Heat Radiant Barrier
 Before you begin installing the heat radiant barrier make sure you inspect the area. To ensure that everything is fine and that no repairs are needed in those particular spots.
Once that is done, take a marker and mark all the necessary spots then proceed to drill the spots with an electrical drill.
If you have any old heat radiant barrier already installed you will need to remove it. Otherwise, make sure that it is still properly intact.
Once the new heat radiant barrier is installed make sure that the air around it and inside is properly compressed.
Moreover, remember that there are many different heat radiant barriers that range in length and thickness. So, you’ll have to decide what total area you’re going to cover in heat radiant barriers. So, then purchase needed roles depending on that criteria.
Once you have covered all the ducts with a heat radiant barrier, make sure that no spots are left because otherwise the heat energy will be lost through those spots.
Although
Professional contractors recommend going through several steps before actually beginning to install the heat radiant barriers. For instance, make sure to find out the following;
- Model and type of heat radiant barrier
- Where exactly you will be installing it
- Building code of your state or county
- State of your plumbing and air ducts in the attic
However, don’t panic because the process is not difficult as you would only need to decide. So, where you want it to be placed then proceed to actually put it there.
With a heat radiant barriers, you would not have to worry about spending extra finances. On heating in the winter and cooling in the summer. As your home will become much more energy-efficient.
Conclusion
In conclusion, remember that before you decide to purchase and install heat radiant barriers. You will need to inspect your attic. So, the basement to make sure that no repairs are needed in that area.
Plus, you will need to remove any old heat radiant barriers. You might have then proceeded to calculate the total area that you’re going to cover in heat radiant barriers. So you know what length and thickness the rolls must be.
Furthermore, once you have installed the heat radiant barrier. It might be a good idea for you to either call a handyman or borrow from someone A thermal scanner. So, as to see whether you have covered all the spots that the heat can get away from.